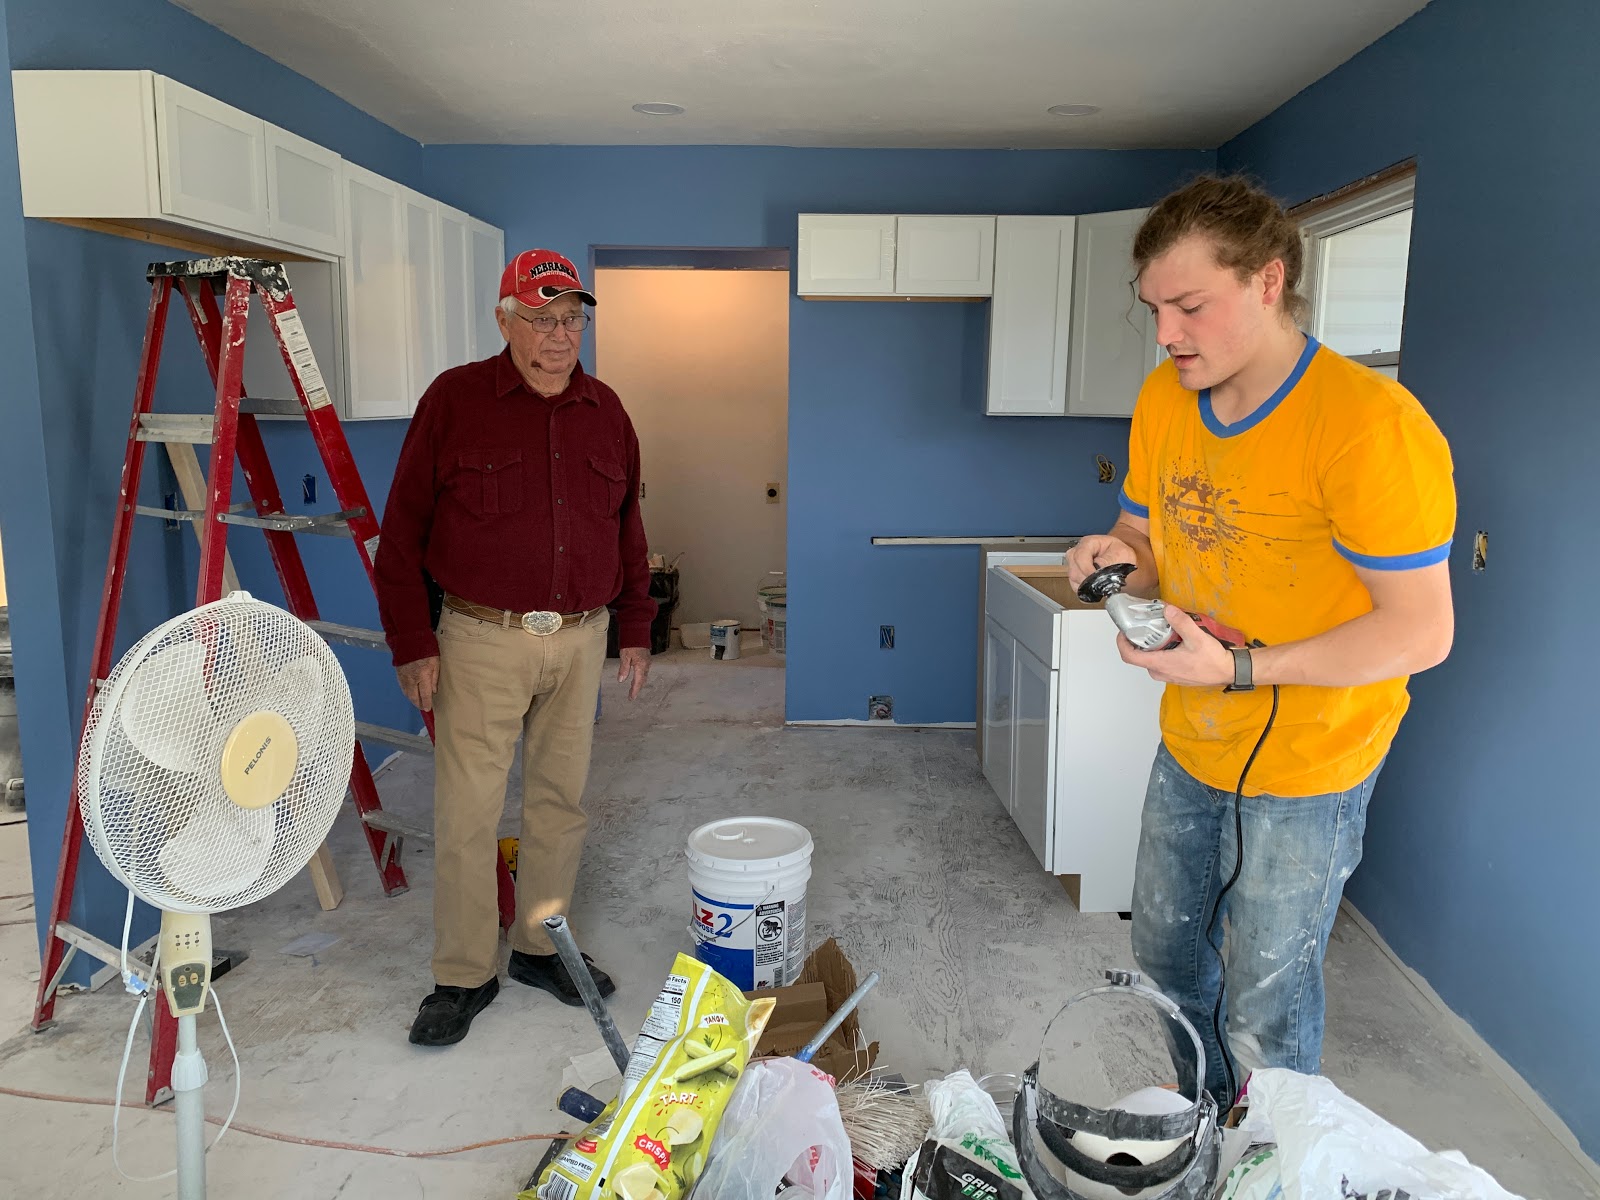
As I said at the end of the last post, once the paint was dried, we were able to start the kitchen cabinet hanging.
We started with the upper cabinets in the corner where we had to replace the studs.

And then moved over to the wall on the opposite the livingroom wall where the fridge was originally.
We chose to keep the same layout in the kitchen as they originally had, but update it.


 |
 |
 |
| We also took out a cabinet and added a dishwasher, and added a built in pantry instead of a moveable pantry. |

 |
| Laying out the template for the counter top. |


 |
| We had a lot of trouble with the Lazy Susan, after we realized how uneven the floor was. |
 |
| You can see in this picture that on the left side there is more of a gap between the cabinets and the ceiling than on the ones on the right. I assure you we measured, leveled, remeasured, releveled, and everything is as it should be. |
The cabinets were ordered from Menards. The style of cabinet is from the Cardell concepts line, in color Lanston White.
Next up — FLOORING!
We started in the hallway and made the trek down the longest stretch of the house first.


And then made our way into the sitting room upstairs.

The back hallway/laundry nook.

We initially thought about using the planks for everything except bedrooms, and carpeting those but we decided especially with the kids that laminate would be better for cleaning purposes and we could just put down rugs as we see fit.
The purple room which we used as a saw room for the process.

The yellow room.

If you are interested in this flooring, we got it at Menards as well. The flooring is Mohawk PerfectSeal Solutions Laminate flooring in color variation Station Oak Mix.
Next up was the counter tops.

The countertops were ordered from Menards. We went with a laminate countertop as we both wanted the no drip edge on it, and chose the coloring Geriba Gray.
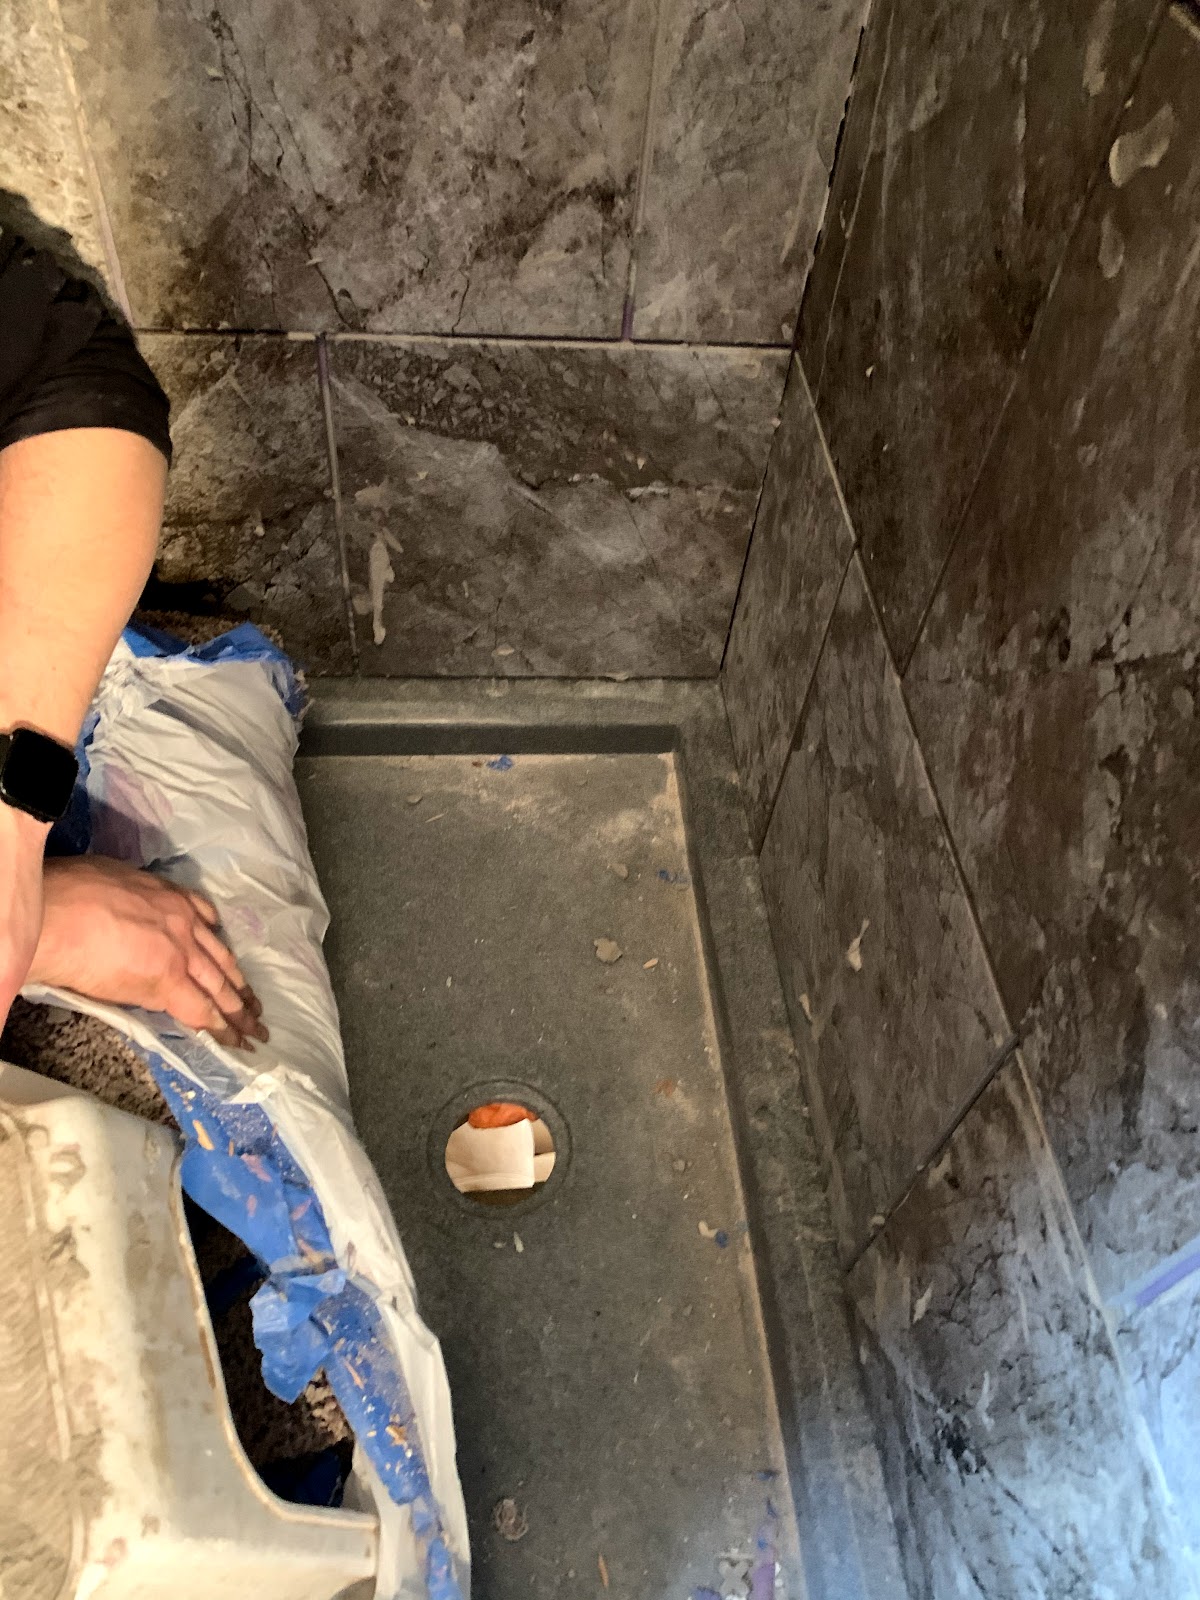
We opted to have them do the sink cut out for us, and even with the model number from the sink, the cut out didn’t quite work and was catching on part of were the clips for the sink go in. We ended up cutting the hole bigger ourselves, and once I showed Menards the picture below, they refunded us for the cut out as well.

 |
| Here you can see where the sink was caught on the clip rail. |
Once the sink was properly installed, Justin and I did the flooring in the dining room and kitchen.


And while we were hard at work, my uncle, Russ was installing doors and trim for us.
 |
| Front view of the door to the yellow room. |
 |
| Back view of the door. |
The interior doors were purchased from Menards and are a part of their Mastercraft interior door collection. They are referred to as “Primed Arched Raised Plank 2-Panel Hollow Core Interior Door System.”
The doorknobs were harder to find, as we decided we wanted black hardware and an egg shaped doorknob. Wayfair pulled through, and we got the Callen Canova Keyed Door Knobs for all four bedrooms and the bathroom, and two Callen Canova Passage Door Knobs for the hall linen closet and the coat closet in the sitting room.
The next doors to be hung were the closet doors.

Once again purchased from Menards, these are Designer’s Image Pine Prefinished White Full Louvered 2-Leaf Bi-Fold Doors.
The last thing we had to complete was the bathroom, which we knew would be the worst of it due to the fact that we wanted to build a walk in shower. We had to do the drywall everywhere in the bathroom except where we were going to do the shower, and then lay the base for the shower, which we got as a custom order from Home Depot’s Onyx Collection.
 |
| Justin finishing up the curb for the shower entry. |
 |
| Securing the added wall. |

Then, came the fun part. The shower had the mold resistant drywall, with a coat of the water resistant membrane over it (the purple on the drywall). Justin measured, cut, and laid all of the tiles while I held the spacers and cleaned up any mortar that happened to seep out.


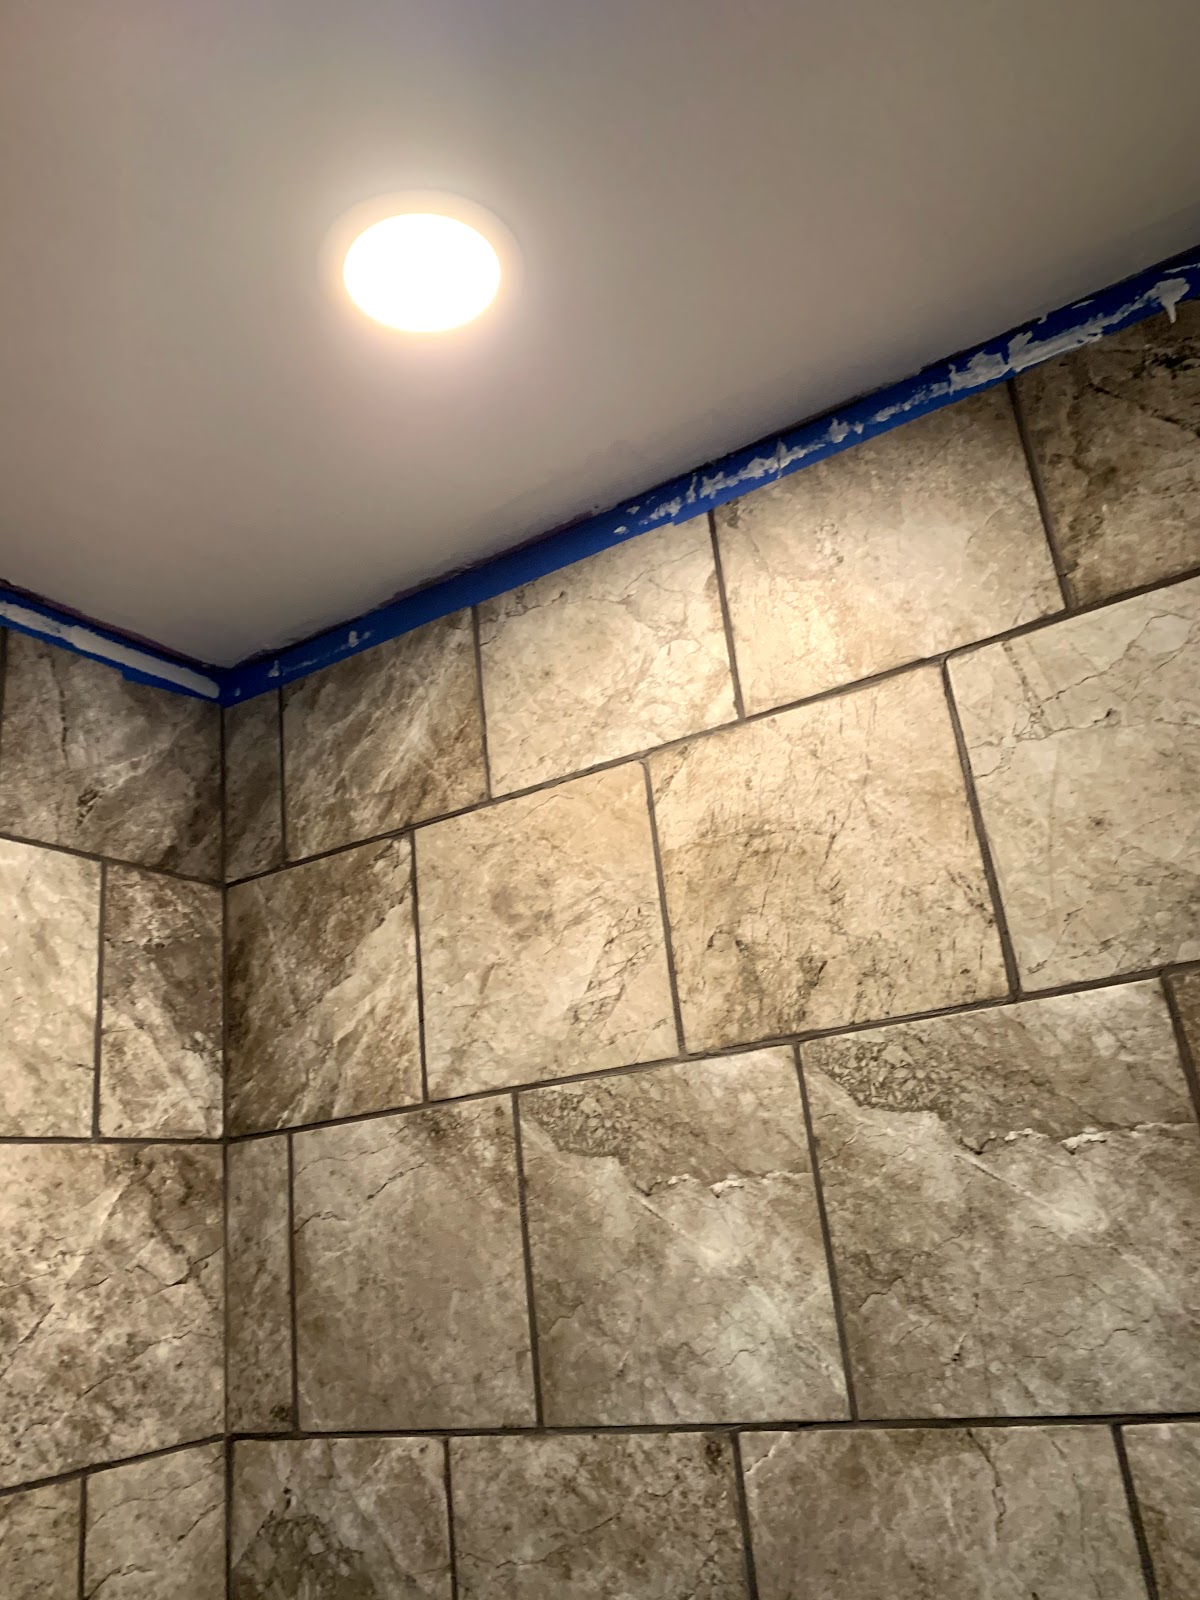
Our tile that we picked was Menards Villa collection 13”x13” tile in the color Passion.
For the bathroom, we decided to go gray!


This color of gray was also a Pittsburgh Paints & Stains Collection color from Menards, called Stepping Stone.
Once the mortar had time to cure, we started grouting. Justin did the grout while I followed behind, cleaning up.
The grout was AccuColor Premium Sanded Grout in color Charcoal Gray.
Unfortunately, because we were moving so fast at the end I didn’t get a whole lot more pictures of putting the bathroom together, or redoing the vanity.
I did, however, get pictures after, and those will come next time.
No comments:
Post a Comment